Google Cloud Platform Hands-on🔗
0. Abstract🔗
Abstract
In this hands-on, you will configure your GCP account and the Google Cloud SDK. You will create and manage Compute Engine VMs, learn to transfer files, and interact with Cloud Storage.
Warning
Some things may only work on eduroam or in 4G...
Warning
Don't forget to shutdown everything when you're done since it costs you money. At the end, even if you have not finished the TP, go to Section 7 "Cleaning Up"
Tip
When replacing {something} in commands, don't include the brackets.
Write yourname, not {yourname}.
Tip
If you are lost on where you are, normally the terminal has the hostname indicated, otherwise run the command hostname
Cost Warning
GCP resources cost money. Even with free credits:
- Always delete VMs when done (Section 7)
- Delete buckets you create
- Stop your Codespace when finished
Forgot to clean up? Your credits will drain quickly.
If you reach the end of the class without having finished everything, go to the cleaning Section 7 at the end.
1. Create your GCP Account🔗
Note
You can skip this for this year, it is provided as reference
Here you will each create a Google Cloud Platform account and project using the student credits given this year,
- Create an account within Google cloud Platform using your ISAE e-mail
- Use the code given by Dennis to redeem your free credits
- You should have a free tier available to you as well as coupons
- From the interface you should create a project with a name of your choice (it is recommended to put for example sdd2526-yourname so that it is clear)
2. (re)connect to GitHub Codespaces🔗
Note
If you are still on the codespace, skip this
If you still have your codespace from last time🔗
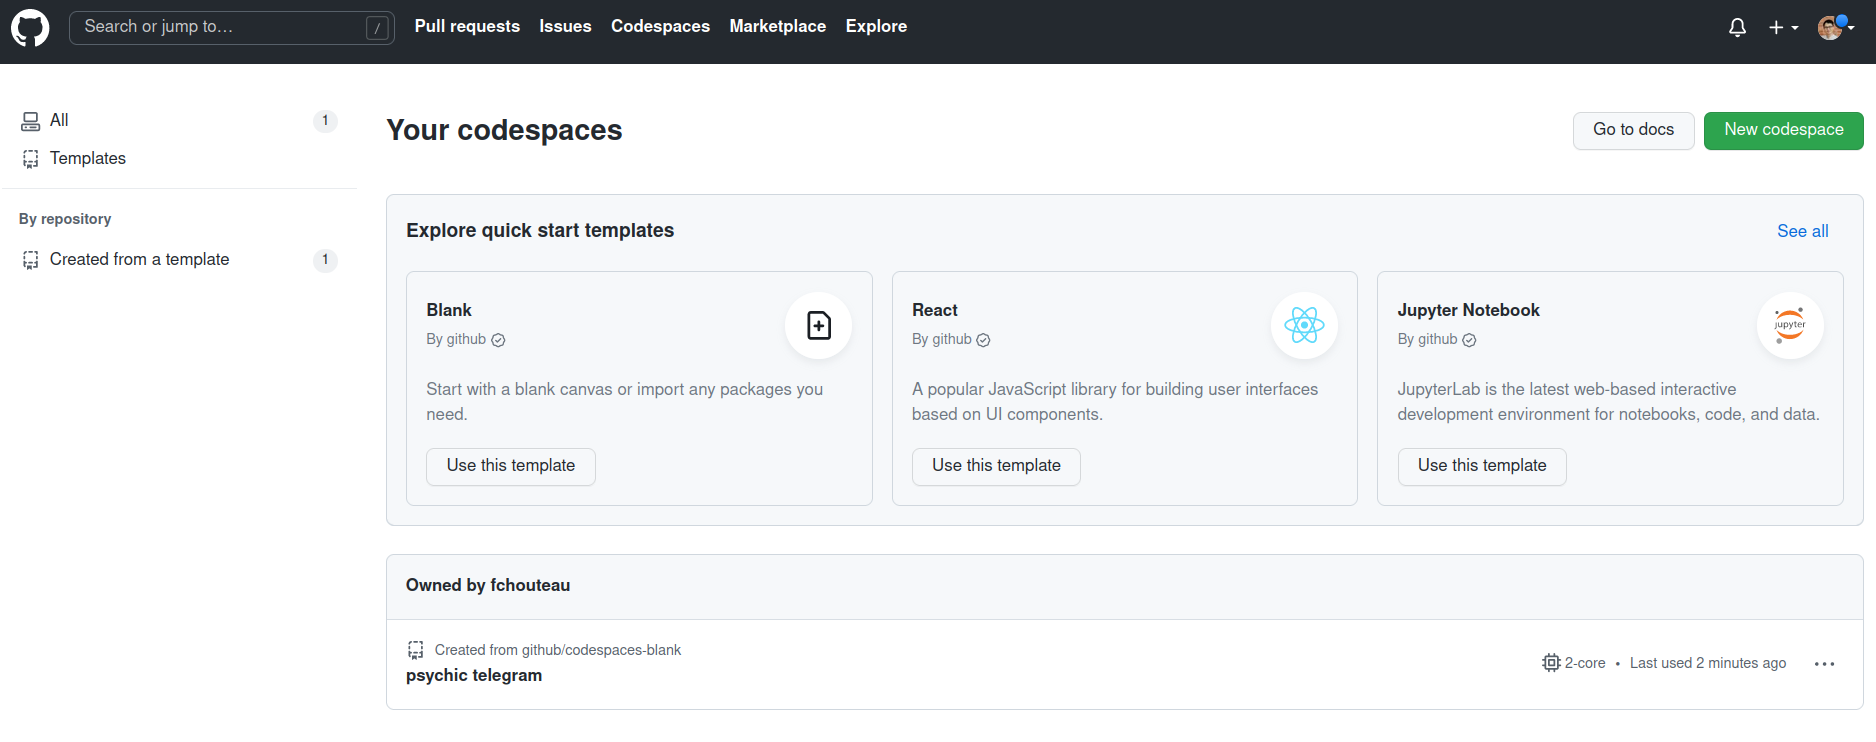
If you go to the core page of https://github.com/codespaces and you see an existing codespace from the morning, you can restart it using the (...) menu
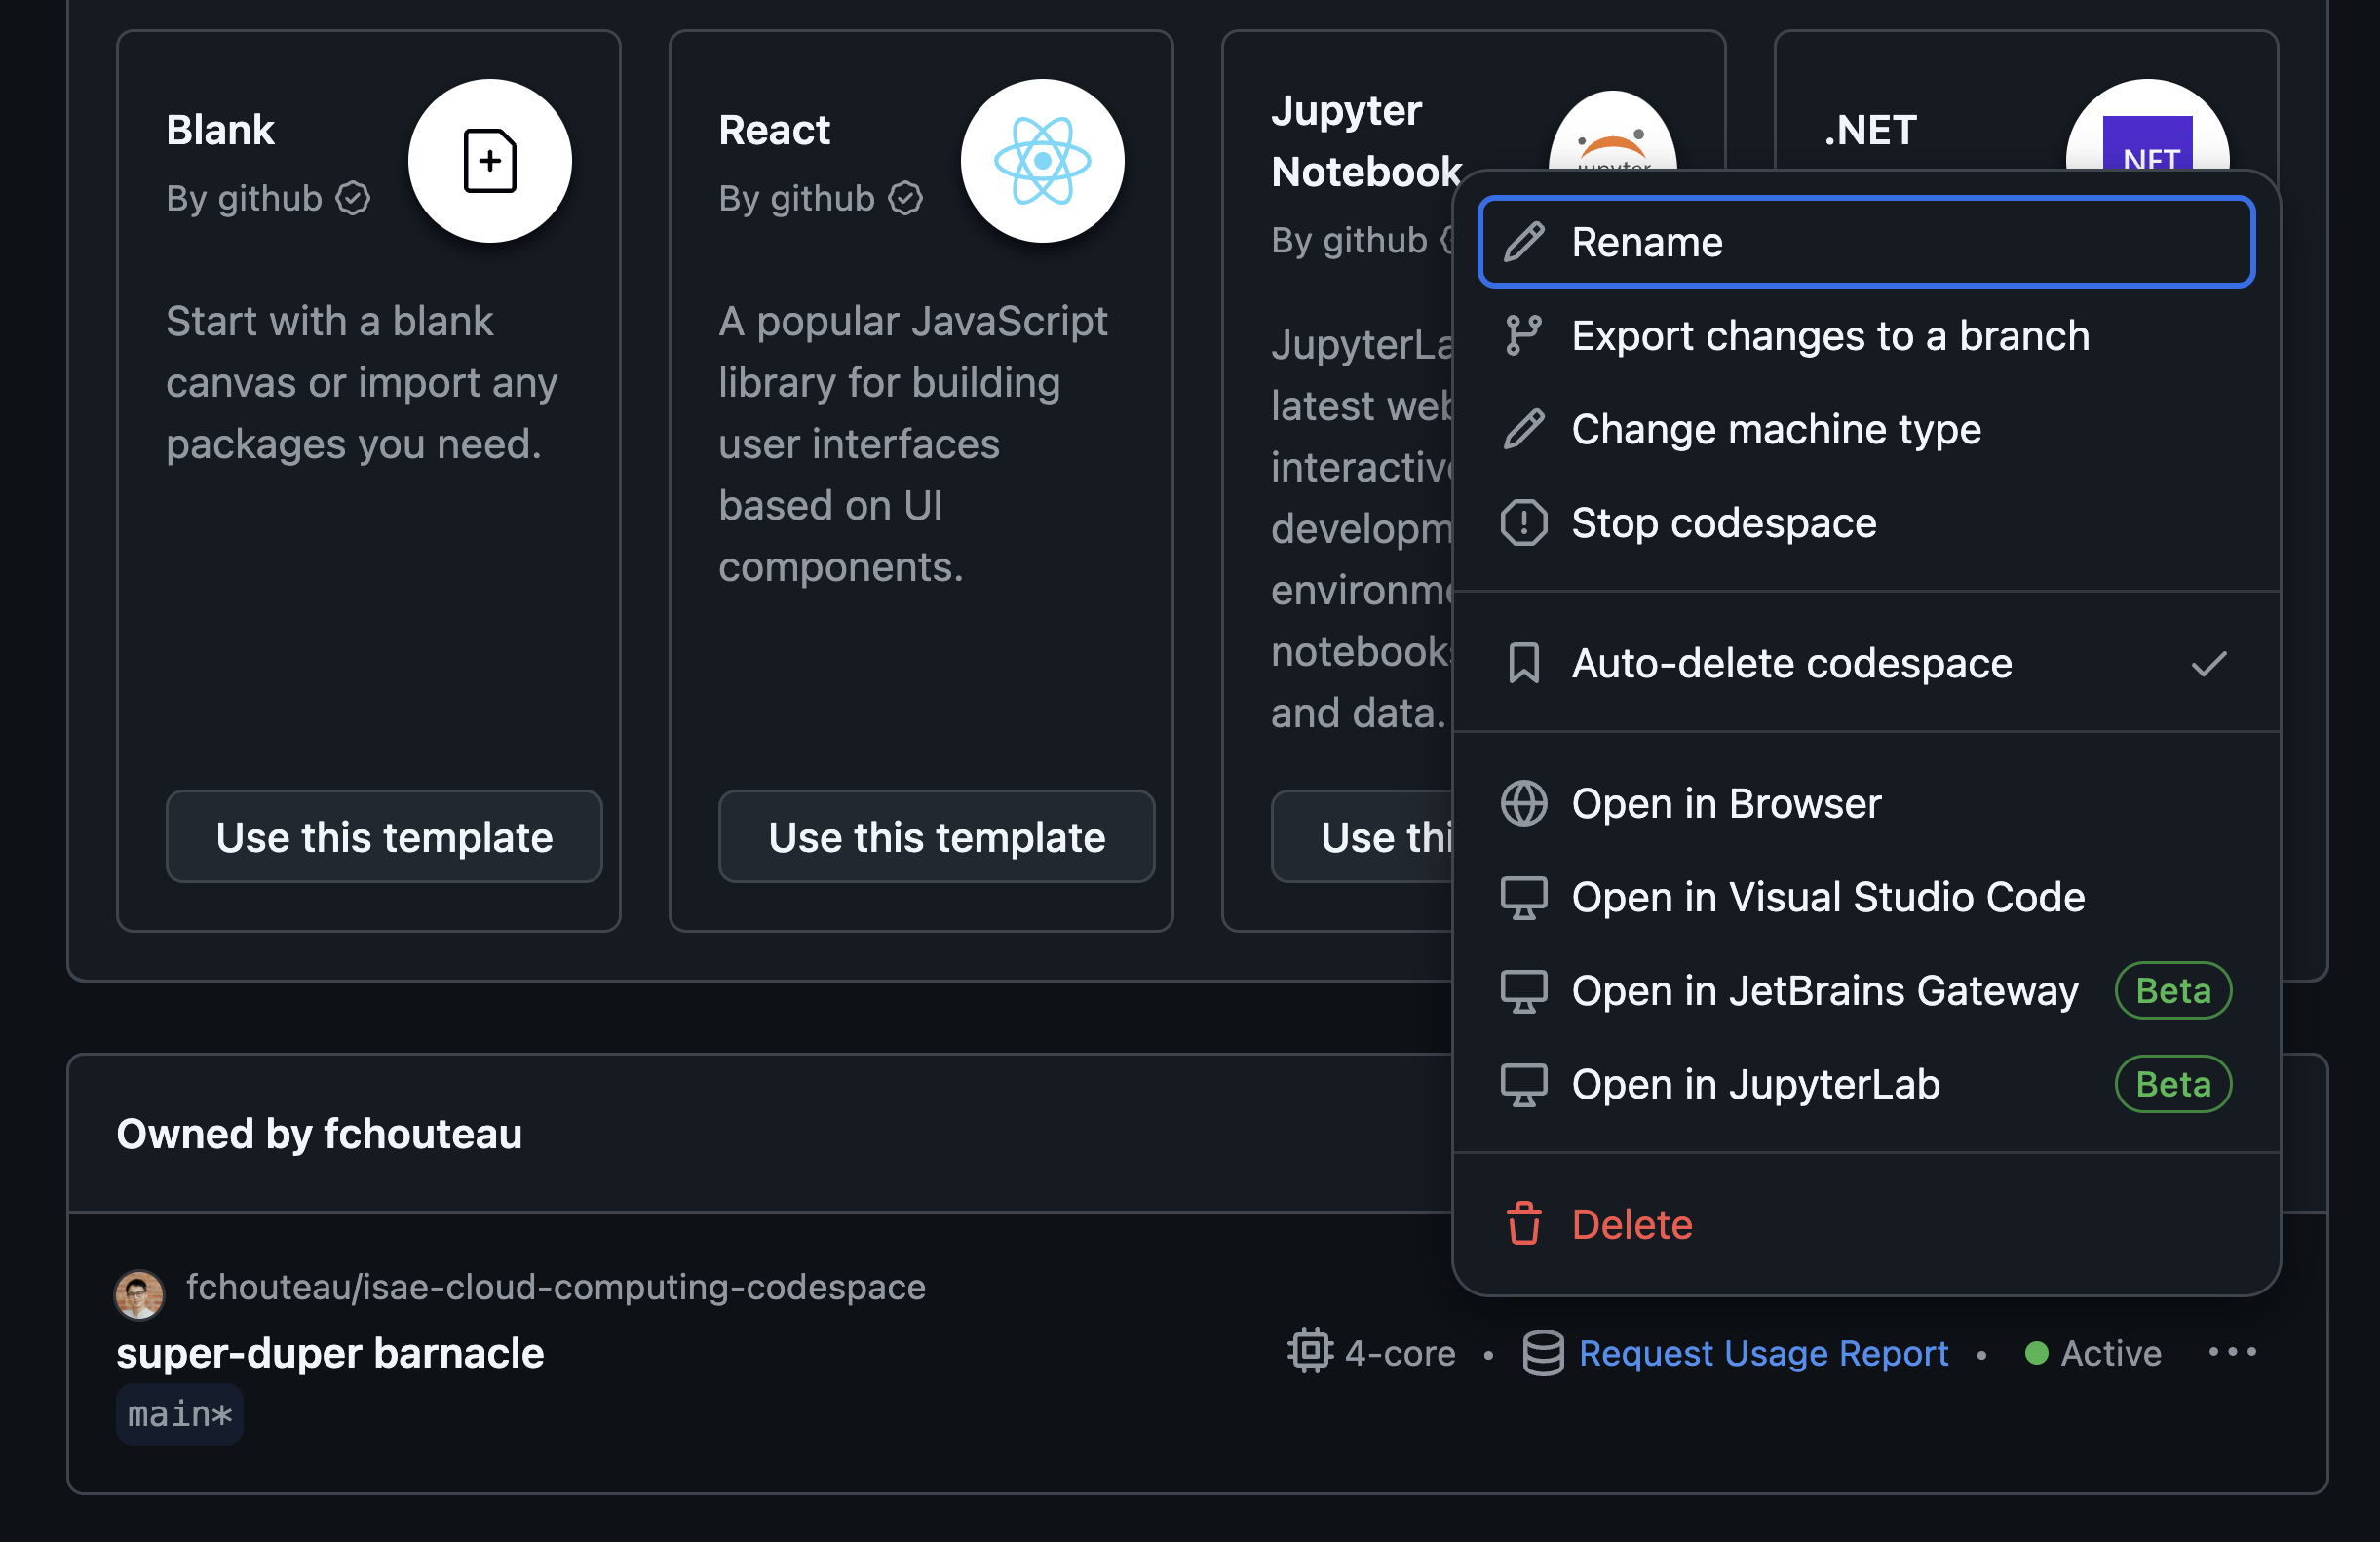
If you don't have one, recreate it (see below)
Create your codespace and connect to it🔗
Go to https://github.com/fchouteau/isae-cloud-computing-codespace

- Click on the top left corner for a new codespace
- It should launch a browser with a vscode
- Launch a terminal using the top right menu
If that does not work, go to https://github.com/github/codespaces-blank and create a codespace from there
![]()
You should arrive to a VScode instance
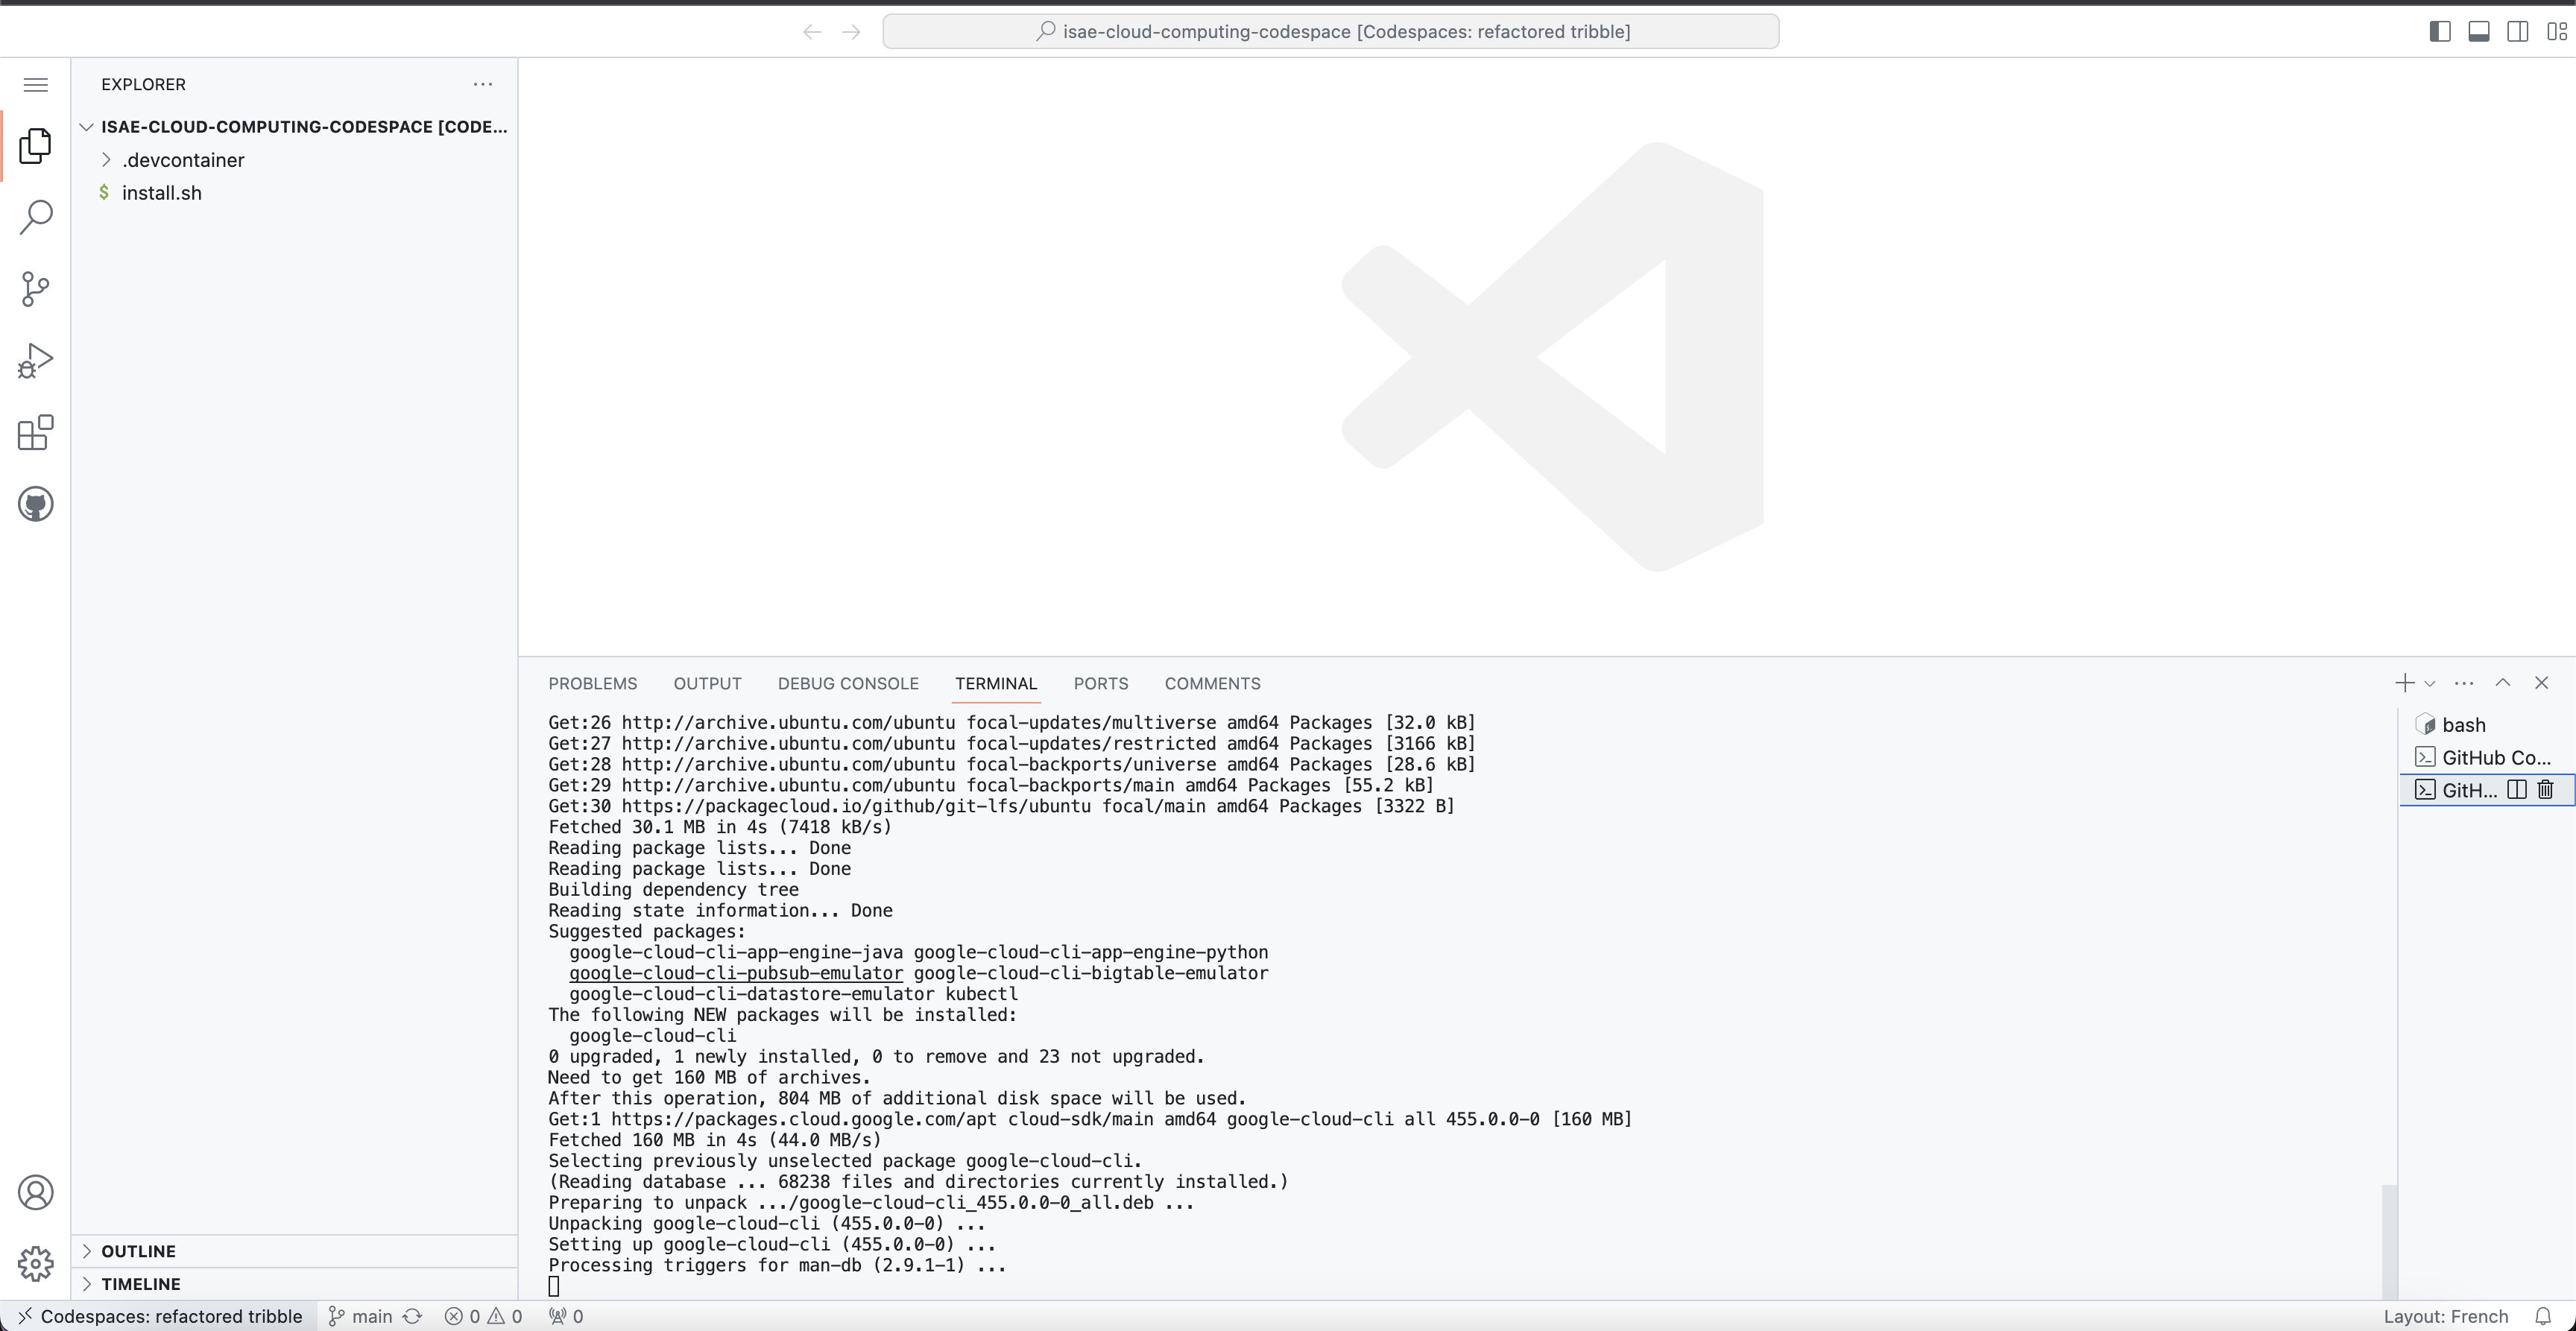
If you go to the core page of https://github.com/codespaces you should see your codespace running
3. Configure the Google Cloud SDK🔗
The Google Cloud SDK is required to interact with GCP from the command line.
Already installed
If you are using the course Codespace, the Google Cloud SDK should be already installed. You can verify this by running gcloud --version.
Warning
If the gcloud is not installed in the codespace, run bash install.sh to install it.
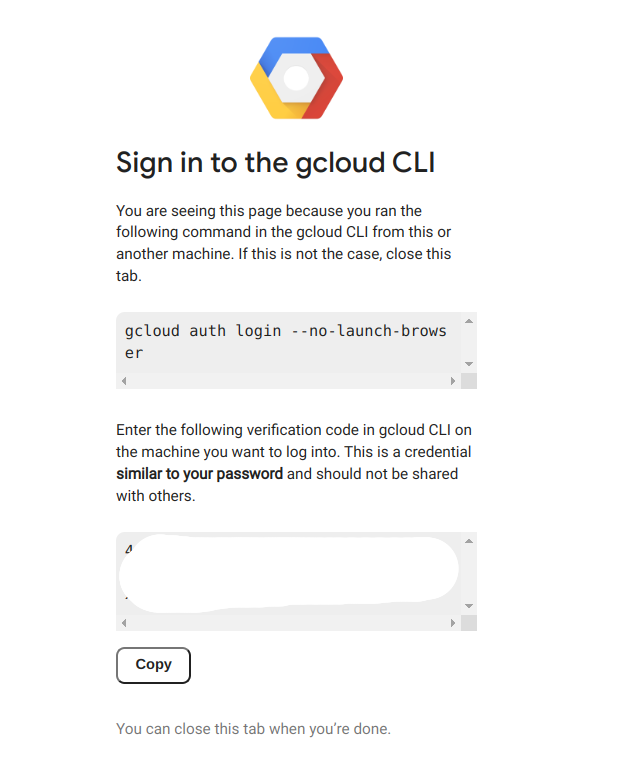
Run gcloud init in your terminal to configure the SDK with your account:
gcloud init
You should see a terminal with a link. Click on the link, login with your Google account, then copy the token back to your Codespace.
Your GitHub Codespace is now configured with your Google Cloud Platform credentials.
Reference: Installing gcloud CLI (not needed for this hands-on)
If you need to install the Google Cloud SDK on your own machine later:
- Ubuntu / Debian: https://cloud.google.com/sdk/docs/install#deb
- Other Linux: https://cloud.google.com/sdk/docs/install#linux
- MacOS: https://cloud.google.com/sdk/docs/install#mac
- Windows: https://cloud.google.com/sdk/docs/install#windows
4. My first Google Compute Engine Instance🔗
Learning objectives
- Create a VM using the GCP Console
- Connect via SSH from your Codespace
- Understand cloud elasticity (resizing VMs)
- Transfer files between local machine and cloud VM
First, we will make our first steps by creating a compute engine instance (a VM) using the console, connecting to it via SSH, interacting with it, uploading some files, and we will shut it down and make the magic happen by resizing it.
- What is google cloud compute engine ? try to describe it with your own words
4a. Creating my VM using the console (the GUI)🔗
-
Create your VM from the google cloud interface : Go to this link and follow the "CONSOLE" instruction
-
Create an instance with the following parameters
- type: e2-standard-2
- zone: europe-west9-a (Paris)
- os: ubuntu 22.04 x86
- boot disk size: 10 GB
- boot disk type: pd-standard
- Give it a name of your choice (that you can remember)
- DO NOT SHUT IT DOWN for now
CLI equivalent
If you were using the command line, you would run:
gcloud compute instances create {name} \
  --project={your-project} \
  --zone=europe-west9-a \
  --machine-type=e2-standard-2 \
  --image-family=ubuntu-2204-lts \
  --image-project=ubuntu-os-cloud \
  --boot-disk-size=10GB \
  --boot-disk-type=pd-standard
4b. Connecting to SSH🔗
-
Connect to SSH from the GitHub Codespace
Solution
gcloud compute ssh ${MACHINE-NAME}
Why use gcloud compute ssh instead of regular ssh?
gcloud compute ssh is a wrapper around standard SSH that:
- Automatically finds your VM - no need to know the IP address
- Handles SSH key management - creates and distributes keys automatically
- Works through IAP - can connect even without public IP (more secure)
Under the hood, it's essentially: ssh -i ~/.ssh/google_compute_engine username@<vm-ip>
-
Check available disk space
Solution
df -h -
Check the OS name
Solution
cat /etc/os-release -
Check the CPU model
Solution
cat /proc/cpuinfo -
Check the number of cores available and the RAM
Solution
htop
4c. The magic of redimensioning VMs🔗
- Shutdown the VM (from the web browser), check the previous codelab to see how to do it
- Select it and click on EDIT
- Change the machine type to
e2-standard-4(link to documentation) - Relaunch it, reconnect to it and try to check using
htopthe number of cores & RAM available - Note : If you run
cat /proc/cpuinfoagain you will see that you are running on the same hardware !
Magic isn't it ?
Note: If you had any files and specific configuration, they would still be here !
4d. Transfering files from the computer (or codespaces) to this machine🔗
- We will use the terminal to transfer some files from* your computer (or codespaces) to** this machine,
-
If you use cloud shell you can do it as well : create a dummy file in cloud shell
-
Follow this link to learn how to use the gcloud CLI tool to transfer files to your instance
-
For experts, it's possible to do it manually using rsync from ssh or scp
-
Transfer some files to your
/home/${USER}directory -
List them from your instance (
ls)
How do we do the opposite ?
See section 5.
4e. Persistent SSH sessions with TMUX🔗
- Connect to your GCE instance using SSH from the codespace
- Question: What happens if you start a long computation and disconnect ?
- Check that tmux is installed on the remote instance (run
tmux). if not install it - Follow this tutorial: https://www.hamvocke.com/blog/a-quick-and-easy-guide-to-tmux/
- To check you have understood you should be able to:
- Connect to your remote instance with ssh
- Start a tmux session
- Launch a process (for example
htop) inside it - Detach from the session (
CTRL+Bthen type:detach) - Kill the ssh connection
- Connect again
tmux attachto your session- Your process should still be here !
Congratulations :)
What You Learned
- VM creation: Using both the Console (GUI) and CLI to create compute instances
- SSH access: Connecting to remote VMs with
gcloud compute ssh - Cloud elasticity: Resizing VMs on-the-fly (more CPU/RAM without losing data)
- File transfer: Using
gcloud compute scpto move files to/from VMs - Persistent sessions: Using
tmuxto keep processes running after disconnection
5. Interacting with Google Cloud Storage🔗
Learning objectives
- Understand object storage concepts (buckets, objects)
- Use the GCP Console to manage storage
- Use the
gcloud storageCLI for file operations - Configure VM access scopes for Cloud Storage
Here we will discover Google Cloud Storage, upload some files from your computer and download them from your instance in the cloud.
-
What is Google Cloud Storage? Try to describe it in your own words.
-
Use this tutorial to upload something from your computer to Google Cloud Storage from the web browser (DO NOT DELETE THE FILES YET)
Now we will download it using the gcloud storage CLI. Here's the documentation.
Common commands:
# List buckets
gcloud storage ls

# List contents of a bucket
gcloud storage ls gs://your-bucket-name

# Upload a file
gcloud storage cp local-file.txt gs://your-bucket-name/

# Download a file
gcloud storage cp gs://your-bucket-name/remote-file.txt ./
- List the content of the bucket you just created (if you deleted it previously, create a new one)
- Upload a file to a bucket
- Download a file from a bucket
Optional: What if we want to do the same from the GCE instance?
-
Now go back to your machine
-
Try to list buckets, download and upload files
-
Is it possible?
-
If not, it's because you have to allow the instance to access Google Cloud Storage
-
Shutdown the VM and edit it (like we did when we resized the instance)
-
Check "access scopes", select "set access for each API", and select "storage / admin"
What are access scopes?
Access scopes are a legacy way to control what GCP APIs a VM can access.
By default, VMs cannot access Cloud Storage. You must explicitly grant access:
storage-ro- Read-only access to bucketsstorage-rw- Read and write accessstorage-full- Full control (including delete, set ACLs)
Modern best practice: Use service accounts with IAM roles instead.
-
Now restart your machine, connect back to it. You should be able to upload to Google Cloud Storage now
-
You can delete the VM as well, we will not use it
What You Learned
- Object storage vs file storage: Buckets contain objects (files), accessed via URLs
- Cloud Storage CLI: Using
gcloud storage ls,cpfor uploads/downloads - Access scopes: VMs need explicit permissions to access other GCP services
- Data pipeline pattern: Upload data to storage, process on VMs, store results back
6. End-to-End Example (Preview)🔗
What you'll learn on Day 2
In the next session, you'll combine all these skills into a complete ML workflow:
- Transfer training code to a VM
- Run ML training on remote hardware
- Upload model weights to Cloud Storage
- Download results to your development machine
Here's the workflow you'll implement:
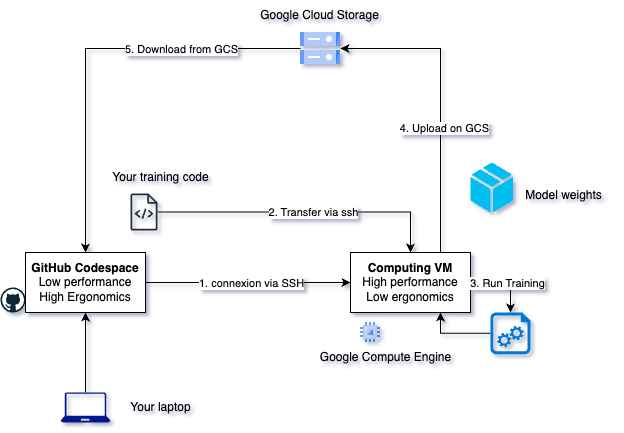
This pattern—compute on VMs, store on GCS, develop locally—is how real ML teams work. You now have all the building blocks; Day 2 puts them together.
What You Learned
- VM lifecycle: Create, use, resize, delete cloud resources on-demand
- SSH access: Connect to remote machines with
gcloud compute ssh - File transfer: Move data with
gcloud compute scp - Cloud Storage: Durable object storage accessible from anywhere
- tmux: Keep processes running after disconnection
7. IMPORTANT: Cleaning up🔗
Warning
- DELETE ALL THE BUCKETS YOU CREATED
- DELETE ALL THE GCP INSTANCES YOU CREATED
- SHUTDOWN YOUR CODESPACE
How to shutdown Codespaces:
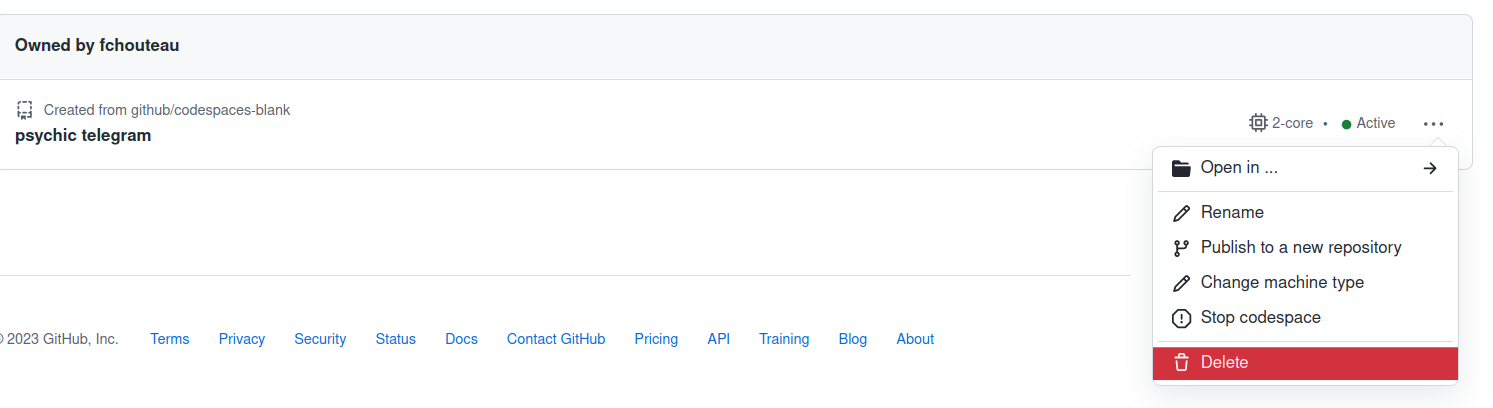
- Click on "Stop codespace" to shut it down (you "pay" for the disk with your free credits)
- Click on "Delete" to remove it completely
8. Advanced - Infrastructure as Code🔗
So far, you have been creating VMs manually (via Console or CLI). In production environments, infrastructure is defined in configuration files that can be versioned and automated.
This tutorial will guide you through Google Cloud Deployment Manager, which is a way to deploy Google Compute Engine instances using configuration files.
Modern alternatives
Google Cloud Deployment Manager is GCP-specific. In practice, many teams use Terraform which works across all cloud providers (AWS, Azure, GCP).
- Don't forget to adapt machine configurations and zone to your use case (see above)
If you run this, don't forget to clean everything up afterwards!
9. Advanced - Managed Databases🔗
-
You have just completed a class on SQL databases
-
Here are the managed SQL services of Google Cloud
Question
Can you describe what it is? What do you pay to Google? How much does it cost? What is a "managed service" in cloud vocabulary?
- If you still have some code to interact with a database, you can try launching one here and redoing your exercises
10. Advanced - Deep Learning VMs🔗
Google Cloud offers Deep Learning VMs—pre-configured VM images with ML frameworks (PyTorch, TensorFlow) and Jupyter pre-installed.
Instead of installing dependencies manually, you can create a VM from these images:
gcloud compute instances create my-dlvm \
    --image-family=pytorch-latest-cpu \
    --image-project=deeplearning-platform-release \
    --machine-type=n1-standard-2
You'll use this approach in Day 2's workflow exercise. For more details: Deep Learning VM documentation.