Remote Development Hands-on🔗
0. Abstract🔗
Abstract
In this hands-on, you will use a GitHub Codespace remote development environment to get familiar with working on code and data not stored on your computer. We will also discover Streamlit, a Python library for building web frontends, and learn how to preview remote applications from your browser.
Warning
Some things may only work on eduroam or with 4G... Some things may only work on Google Chrome
Warning
Don't forget to shut down everything when you're done!
Tip
When replacing {something} in commands, don't include the brackets.
Write yourname, not {yourname}.
1. My first "Virtual Machine": GitHub Codespaces🔗
First, you will need a GitHub account. You should already have one, otherwise create one.
Intro to GitHub Codespaces🔗
- GitHub Codespaces is a managed VM that lets you develop without configuring your local environment.
- Compared to configuring a VM yourself, Codespaces comes pre-loaded with developer tools, making it faster to get started.
- You have a free tier of 60 CPU hours / months and some disk space
- You pay for the CPU when the VM is ON and for the disk when the codespace is created
Have a look at the overview: https://docs.github.com/en/codespaces/overview
Question
Can you describe it in your own words? How would ChatGPT (or any LLM) describe it?
Note
Google Cloud has a similar service called Google Cloud Shell, but Codespaces is more powerful, so we will use that instead
How Codespaces work under the hood
What is a Codespace technically?
A Codespace is a Linux VM running in Microsoft Azure (GitHub's parent company). When you create a Codespace:
- Azure provisions a VM with your chosen resources (CPU cores, RAM)
- A Docker container is started on that VM with your development environment
- The container is configured via a
.devcontainer/devcontainer.jsonfile in your repo
How does the browser connection work?
When you open a Codespace in your browser:
- Your browser connects to a VS Code Server running in the container
- The VS Code UI is rendered locally in your browser (it's a web app)
- Commands and file operations are sent to the remote server via WebSocket
How does port forwarding work?
When you run a server (e.g., Jupyter on port 8888):
- The server binds to a port inside the container
- GitHub's infrastructure creates a reverse proxy with a unique URL
- Your browser connects to
https://{codespace-name}-8888.app.github.dev - The proxy forwards traffic through secure tunnels to your container
This is why you can access localhost services without any firewall configuration!
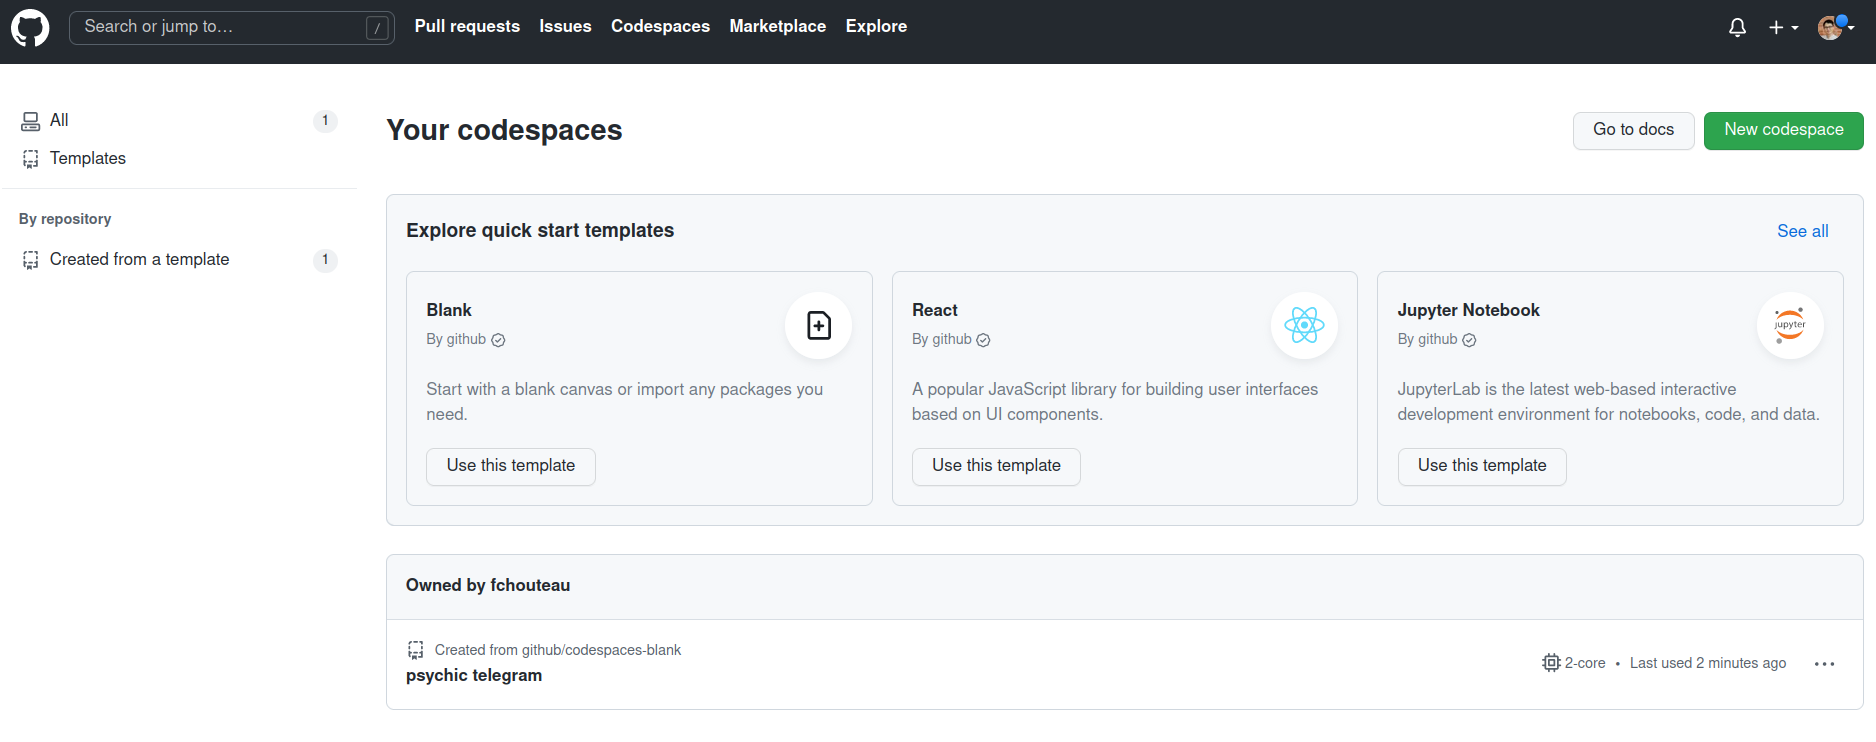
Web UI : Create your codespace and connect to it using the web interface🔗
Go to https://github.com/fchouteau/isae-cloud-computing-codespace

- Click on the green "Code" button, then select "Create codespace on main"
- It should open a browser tab with VS Code
- Launch a terminal using the top menu (Terminal > New Terminal)
You should see a VS Code instance
Question
Where is this running?
If you go to https://github.com/codespaces, you should see your codespace running
Alternative: Connect from local VSCode🔗
You can also connect to your Codespace from your local VSCode installation instead of using the browser.
Prerequisites:
- VSCode installed on your machine
- GitHub Codespaces extension installed
Steps: (via Web UI)
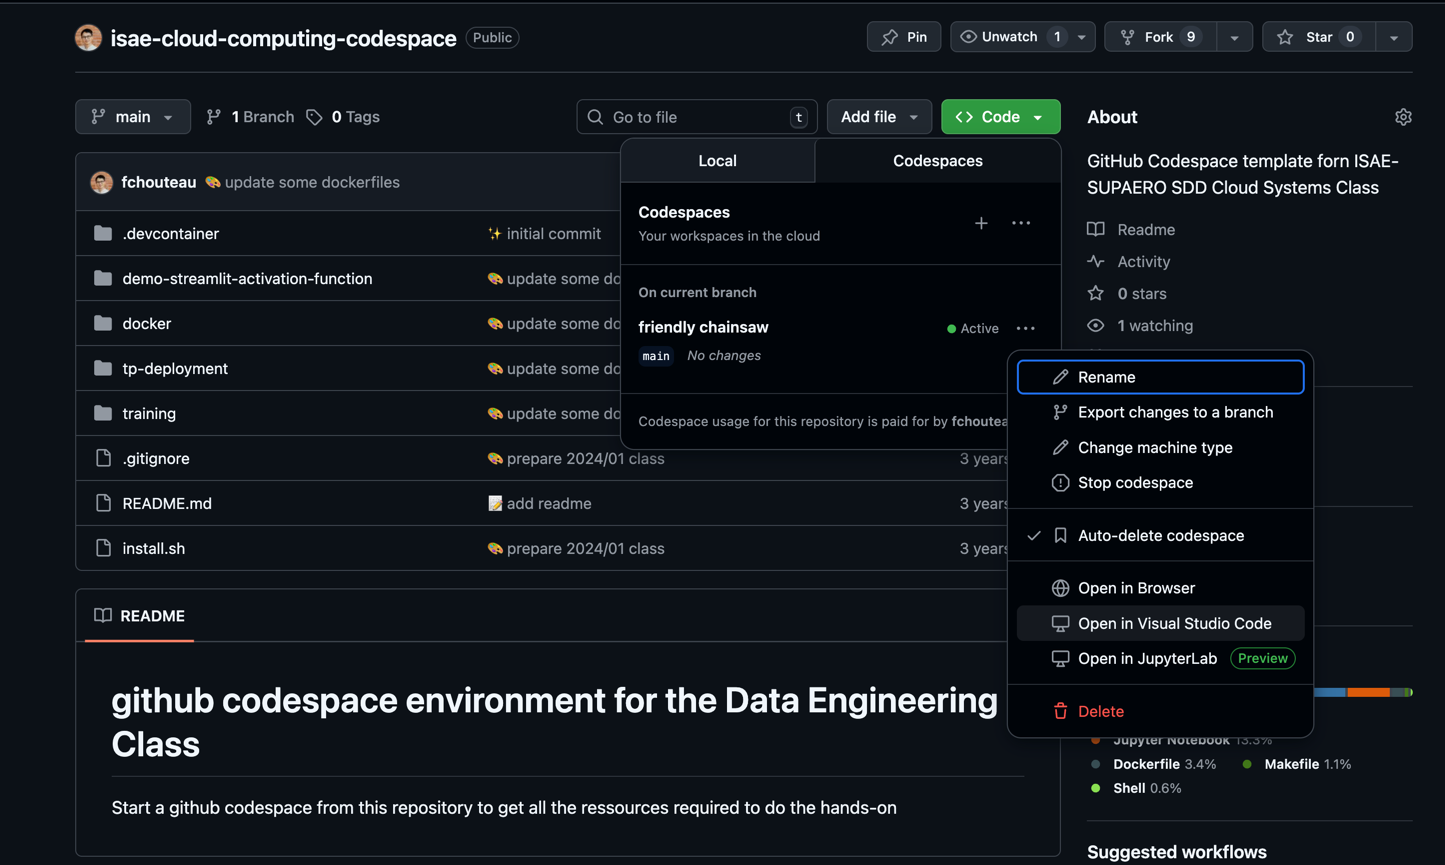
- Go to https://github.com/codespaces and click on "Open in VS Code Desktop"
Steps: (via VSCode)
- Open VSCode locally
- Open the Command Palette (
Ctrl+Shift+P/Cmd+Shift+P) - Type "Codespaces: Create New Codespace"
- Paste the following:
fchouteau/isae-cloud-computing-codespace
To reconnect to an existing codespace:
1. Open VSCode locally
2. Open the Command Palette (Ctrl+Shift+P / Cmd+Shift+P)
3. Type "Codespaces: Connect to Codespace"
4. Select your running Codespace from the list
Benefits of local VSCode:
- Use your familiar keybindings and settings
- Better performance (native app vs browser)
- Access to all your local extensions
- Easier file transfers via drag-and-drop
Note: The Codespace still runs remotely - only the UI is local.
Explore GitHub Codespaces🔗
GitHub Codespaces Getting Started
Identify the following features in the interface:
- Code editor (VS Code)
- Terminal
- File explorer
- Debugging tools (breakpoints, console output)
Run these commands to get a feel for the "computer" behind the interface:
- Check available disk space
Bash command to run
df -h
- Check the OS name
Bash command to run
cat /etc/os-release
- Check the CPU model
Bash command to run
cat /proc/cpuinfo
- This is the hardware model... How many cores do you have available? How much RAM?
Help
htop will give you your current usage and available cores, or you can do nproc
- Check the python installation
Bash command to run
python --version
pip list
-
Try and upload a file from your computer to the codespace by right clicking on the file explorer on the left
-
Create a new file and write a simple python "Hello World", then execute it from the terminal
A quick look at port forwarding🔗
When you run a server on a remote machine (like this Codespace), you need a way to access it from your browser. This is called port forwarding - we'll explore this in detail in Section 3 with Streamlit.
For now, try this quick demo:
- In your codespace, run
jupyter labto launch Jupyter Lab - Check the "Ports" tab in VS Code: it should show a new entry for port 8888
- Click "Open in Browser" to see how Codespace automatically forwards the port
- Cancel the Jupyter process with
CTRL+C
We'll dive deeper into how port forwarding works in the Streamlit section below.
What You Learned
- Remote development environments: Codespaces provide a cloud-hosted VM with pre-configured tools
- VS Code in the browser: The same IDE experience, but running remotely
- System exploration: Commands like
df -h,htop,cat /proc/cpuinfoto understand your environment - Port forwarding preview: A glimpse of how to access remote services (more in Section 3)
2. Running a ML training script in the Codespace🔗
In this section, you will run a machine learning training script directly in your Codespace. This demonstrates remote computation: the training runs on the Codespace VM, not on your laptop.
2.1. Locate the training script🔗
In your Codespace file explorer, navigate to the training/ folder. You should see a training.py script.
Take a look at the code:
cat training/training.py
Question
What does this script do? What model is it training? What dataset does it use?
2.2. Install dependencies and run the training🔗
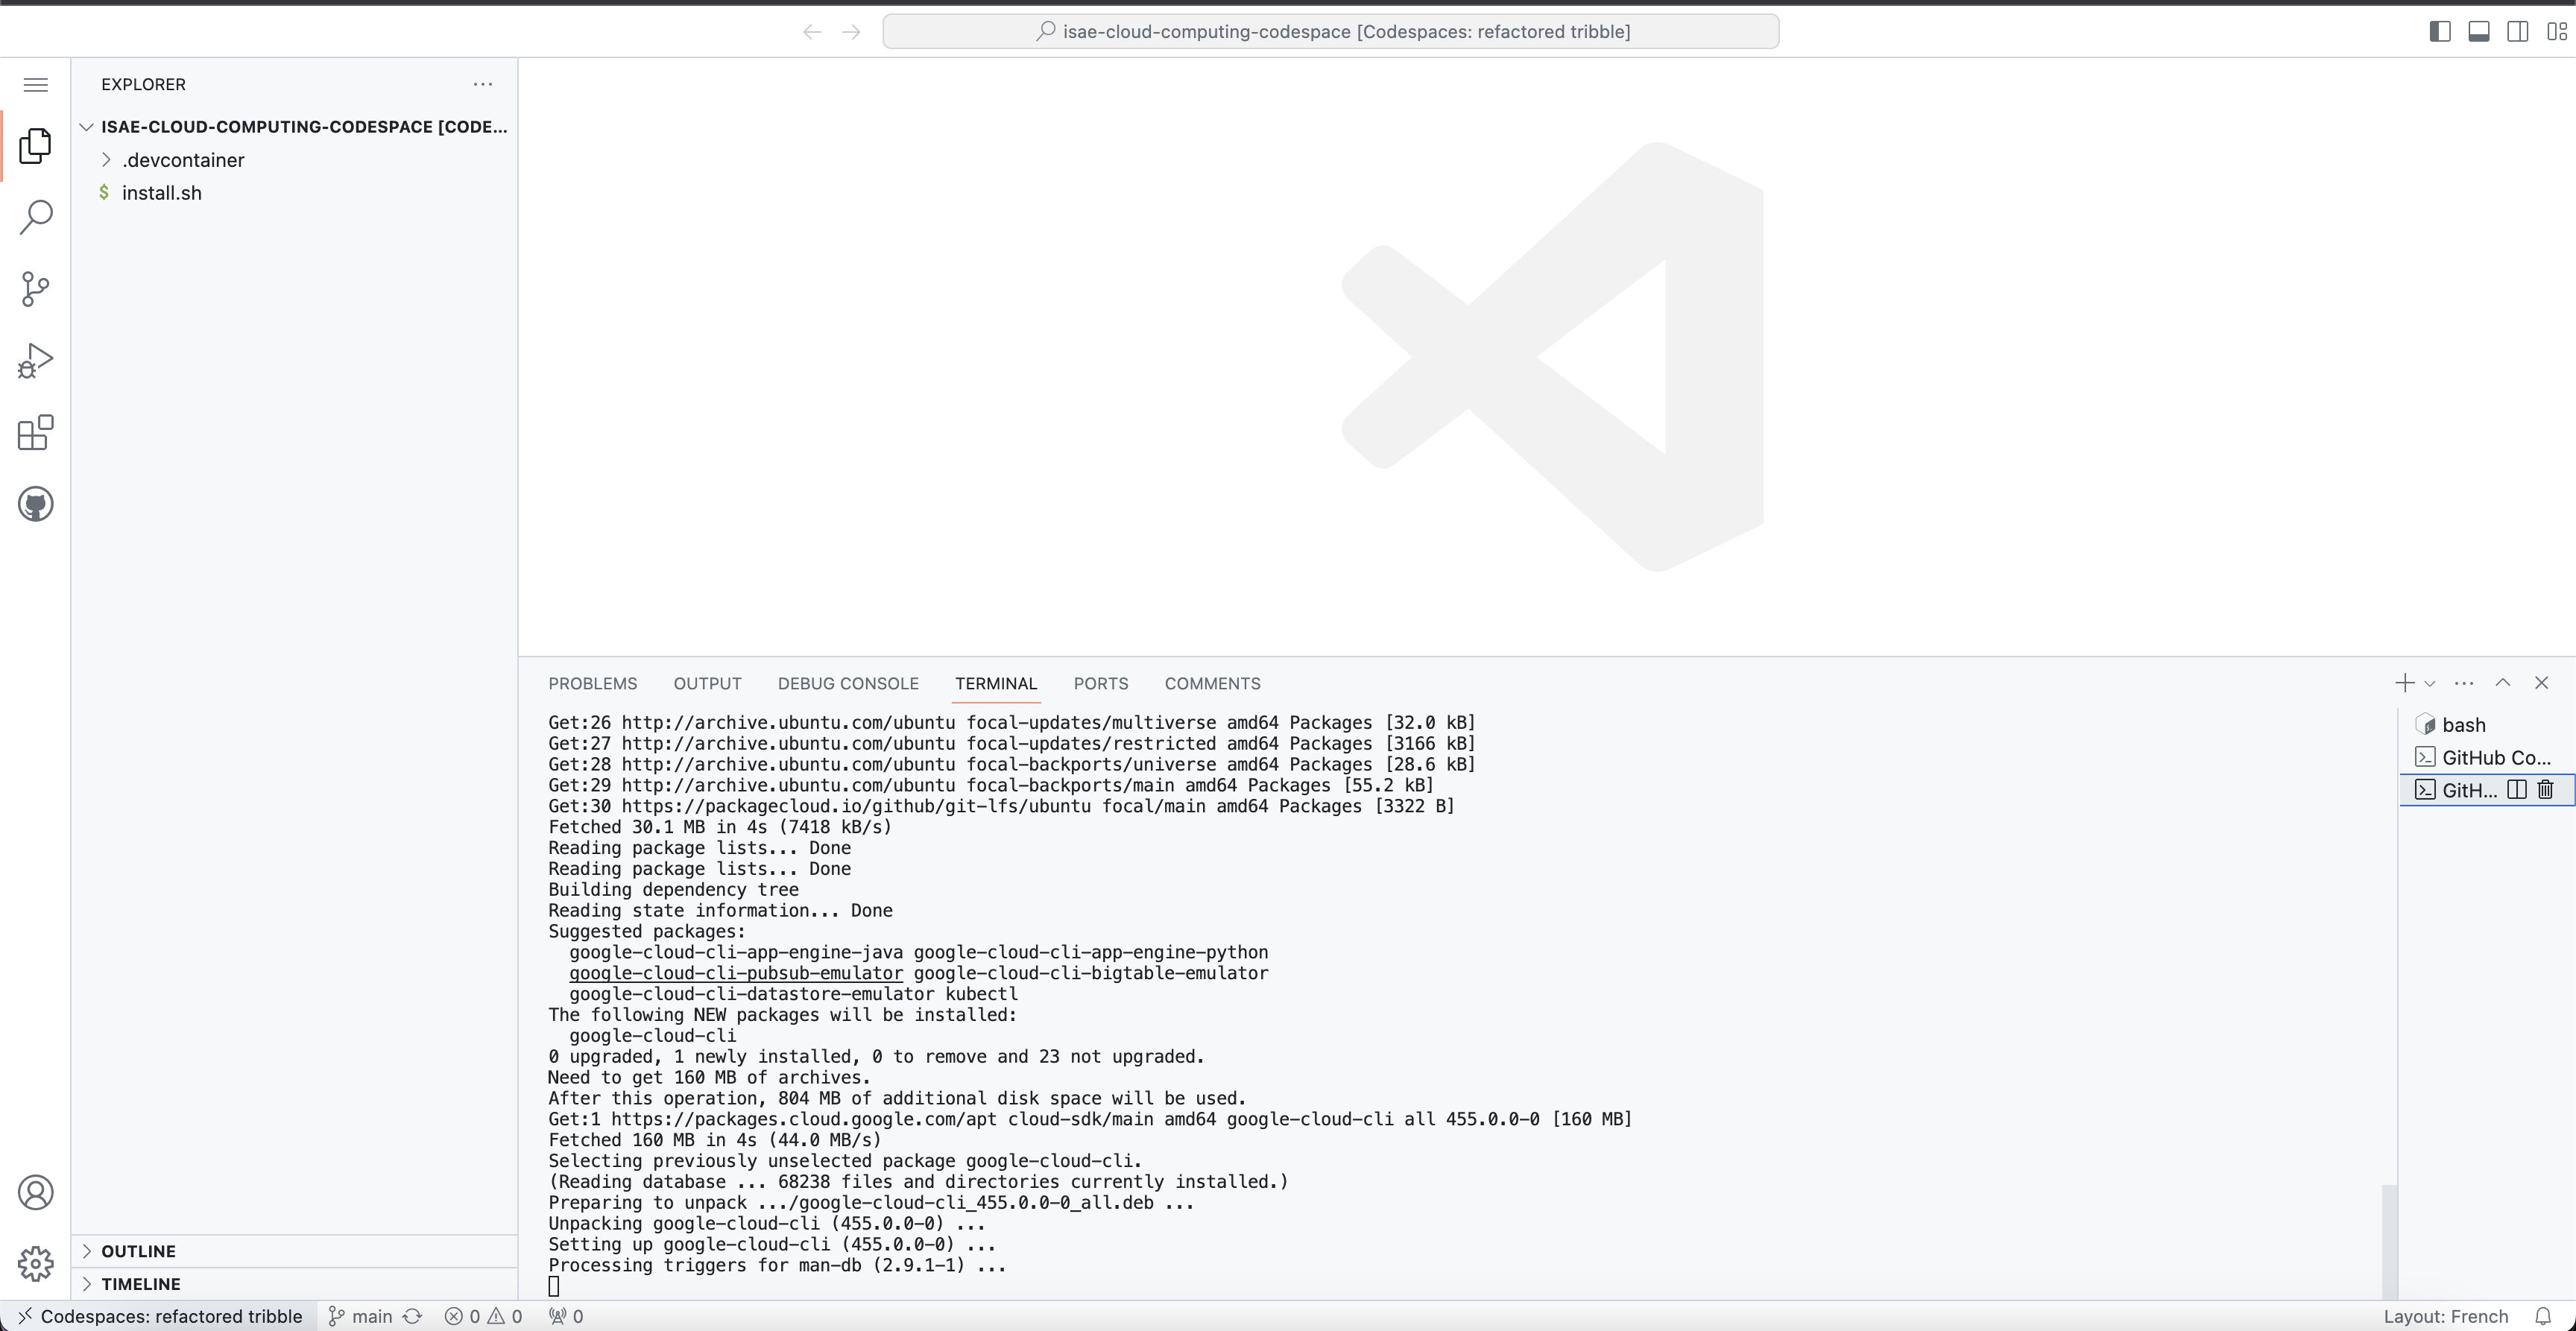
First, install the required dependencies:
pip install torch torchvision
Then run the training script:
python training/training.py --epochs 2 --save-model
Think about it
Where is this training actually running?
- On your laptop?
- On the Codespace VM (in the cloud)?
- Somewhere else?
How can you verify this? (Hint: check CPU usage with htop in another terminal)
Watch the training progress. The script will save a model file (e.g., model.pth) when complete.
2.3. Download the trained model to your laptop🔗
Once training is complete, you need to retrieve the model file to your local machine.
Option A: Via the file explorer
- Right-click on the
mnist_cnn.ptfile in the VS Code file explorer - Select "Download"
Option B: Via the terminal (if you have gh CLI locally)
# From your local machine terminal
gh codespace cp remote:/workspaces/isae-cloud-computing-codespace/training/model.pth ./model.pth
Checkpoint
You have successfully:
- [x] Run a training script on a remote machine (Codespace)
- [x] Downloaded the resulting model to your laptop
This is the fundamental workflow of remote computation: run heavy tasks in the cloud, retrieve results locally.
Question
How comfortable do you feel with this remote machine? Is it easy to get data in or out? Code in or out?
What You Learned
- Remote computation: Running code on a cloud machine instead of your laptop
- File transfer: Moving files between local and remote environments
- The cloud workflow: Edit locally (or remotely), run remotely, retrieve results
3. Building a Streamlit Webapp🔗
We will introduce Streamlit, a Python library to build quick web apps for data science.
In this section, you will build your first interactive webapp in Python and learn about port forwarding - how to access applications running on remote machines from your browser. This is a fundamental concept for cloud development.
First, watch this video:
Then, take a look at an introduction to Streamlit and the Streamlit application gallery
Question
Can you describe what Streamlit is? Can you think of ways it could be useful to you?
3.1. Your first Streamlit application🔗
Take a look at the code below:
import streamlit as st
from streamlit_image_comparison import image_comparison
import cv2

st.set_page_config("Webb Space Telescope vs Hubble Telescope", "🔭")

st.header("🔭 J. Webb Space Telescope vs Hubble Telescope")

st.write("")
"This is a reproduction of the fantastic [WebbCompare](https://www.webbcompare.com/index.html) app by [John Christensen](https://twitter.com/JohnnyC1423). It's built in Streamlit and takes only 10 lines of Python code. If you like this app, please star [John's original repo](https://github.com/JohnEdChristensen/WebbCompare)!"
st.write("")

st.markdown("### Southern Nebula")
image_comparison(
    img1="https://www.webbcompare.com/img/hubble/southern_nebula_700.jpg",
    img2="https://www.webbcompare.com/img/webb/southern_nebula_700.jpg",
    label1="Hubble",
    label2="Webb",
)


st.markdown("### Galaxy Cluster SMACS 0723")
image_comparison(
    img1="https://www.webbcompare.com/img/hubble/deep_field_700.jpg",
    img2="https://www.webbcompare.com/img/webb/deep_field_700.jpg",
    label1="Hubble",
    label2="Webb",
)

st.markdown("### Carina Nebula")
image_comparison(
    img1="https://www.webbcompare.com/img/hubble/carina_2800.png",
    img2="https://www.webbcompare.com/img/webb/carina_2800.jpg",
    label1="Hubble",
    label2="Webb",
)

st.markdown("### Stephan's Quintet")
image_comparison(
    img1="https://www.webbcompare.com/img/hubble/stephans_quintet_2800.jpg",
    img2="https://www.webbcompare.com/img/webb/stephans_quintet_2800.jpg",
    label1="Hubble",
    label2="Webb",
)
Question
By reading the code and documentation, can you describe what this code does?
3.2. Running Streamlit in the Codespace🔗
What is a port?
A port is a 16-bit number (0-65535) that identifies a specific process or service on a machine. Think of it like apartment numbers in a building:
- The IP address is the building address
- The port is the apartment number
Common ports:
| Port | Service |
|---|---|
| 22 | SSH |
| 80 | HTTP (web) |
| 443 | HTTPS (secure web) |
| 8888 | Jupyter (default) |
| 8501 | Streamlit (default) |
When you run jupyter lab, it starts a web server listening on port 8888. Anyone who can reach that port can access Jupyter.
What is port forwarding?
Port forwarding (or tunneling) connects a port on one machine to a port on another through a secure channel.
Your laptop:8888 <--tunnel--> Remote VM:8888
When you access localhost:8888 on your laptop, the traffic is forwarded through the tunnel to port 8888 on the remote machine.
Why is this useful?
- The remote machine might not be directly accessible from the internet
- You want to access services as if they were running locally
- Security: the tunnel encrypts traffic
Install the dependencies:
pip install streamlit opencv-python-headless streamlit-image-comparison
Create a file streamlit_jswt.py and copy/paste the code above.
Run the Streamlit server:
streamlit run streamlit_jswt.py
This will launch the application on port 8501 of your Codespace.
To view it:
- Check the "Ports" tab in VS Code (bottom panel)
- You should see port 8501 listed
- Click "Open in Browser" or hover and click the globe icon
Understanding port forwarding
The Streamlit server is running on the Codespace VM, not on your laptop.
Yet you can see it in your browser. How is this possible?
Answer: Codespace automatically creates a tunnel (port forward) from the remote port 8501 to a public URL that your browser can access.
Once you're done exploring, quit the server with CTRL+C.
What You Learned
- Port forwarding: Accessing a remote service through a tunnel
- Web app basics: A Python process serving HTTP on a port
- Deployment preview: In Day 2, you'll deploy apps like this to the cloud
What's Next🔗
In Session 2, you'll learn how to package applications using Docker so they can run anywhere.
In Day 2, you'll combine these skills to deploy ML models to the cloud.