Remote Development hands-on🔗
1. Abstract🔗
Abstract
In this hands on you will start to manipulate a Github Codespace remote development environment to get familiar about manipulating code and data not stored in your computer We will also discover streamlit which is a python library used to build frontend, and discover how to preview some things from the github codespace to your machine
Warning
Some things may only work on eduroam or in 4G... Some things may only works on Google Chrome
Warning
Don't forget to shutdown everything when you're done !
Note
When the TP says to replace "{something}" with a name, don't include the brackets so write “yourname"
1. My first "Virtual Machine", Github Codespaces🔗
First, you will need a GitHub account. You should already have one, otherwise create one.
Intro to Github Codespaces🔗
- Github Codespaces is a "managed VM" made available to develop without needing to configure locally your environment.
- Compared to configured a VM by yourself, this one comes loaded with developer tools, and thus is faster to use,
- You have a free tier of 60 CPU hours / months and some disk space
- You pay for the CPI when the VM is ON and for the disk when the codespace is create
Have a look at the overview : https://docs.github.com/en/codespaces/overview
Question
- Can you describe it with your own words ?
- How would ChatGPT (or any LLM) describe it ?
Note
Google Cloud has a similar service with Google Cloud Shell but since Codespaces is way more powerful, we will be using that
Create your codespace and connect to it🔗
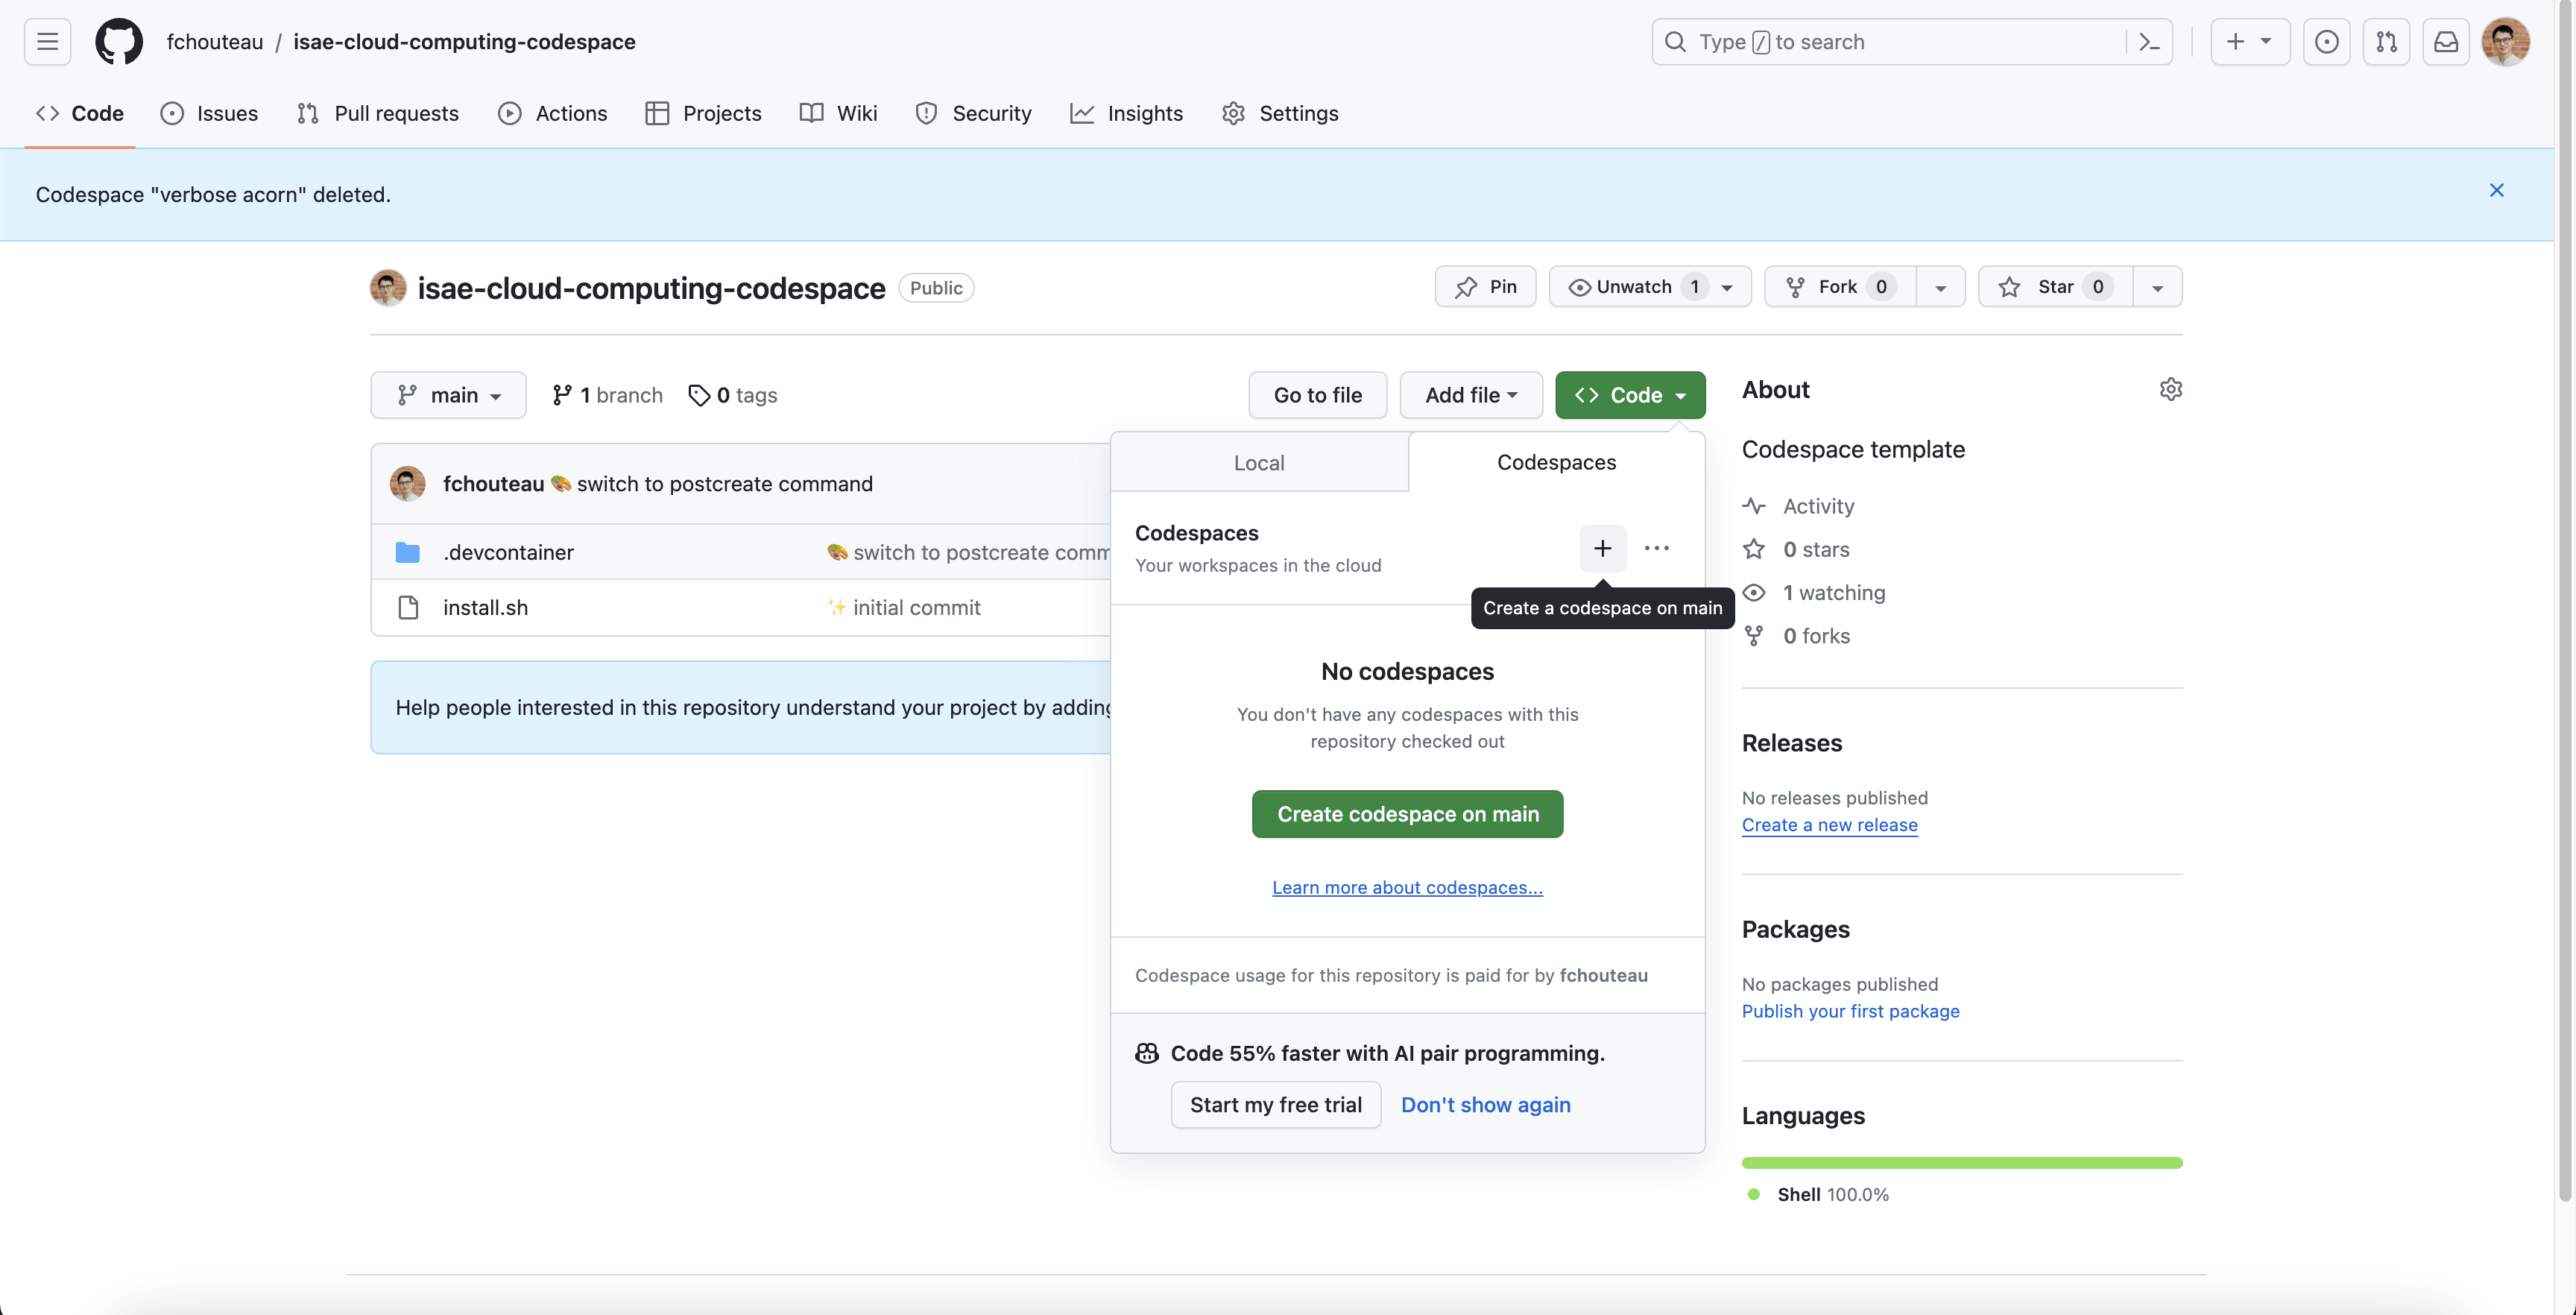
Go to https://github.com/fchouteau/isae-cloud-computing-codespace

- Click on the top left corner for a new codespace
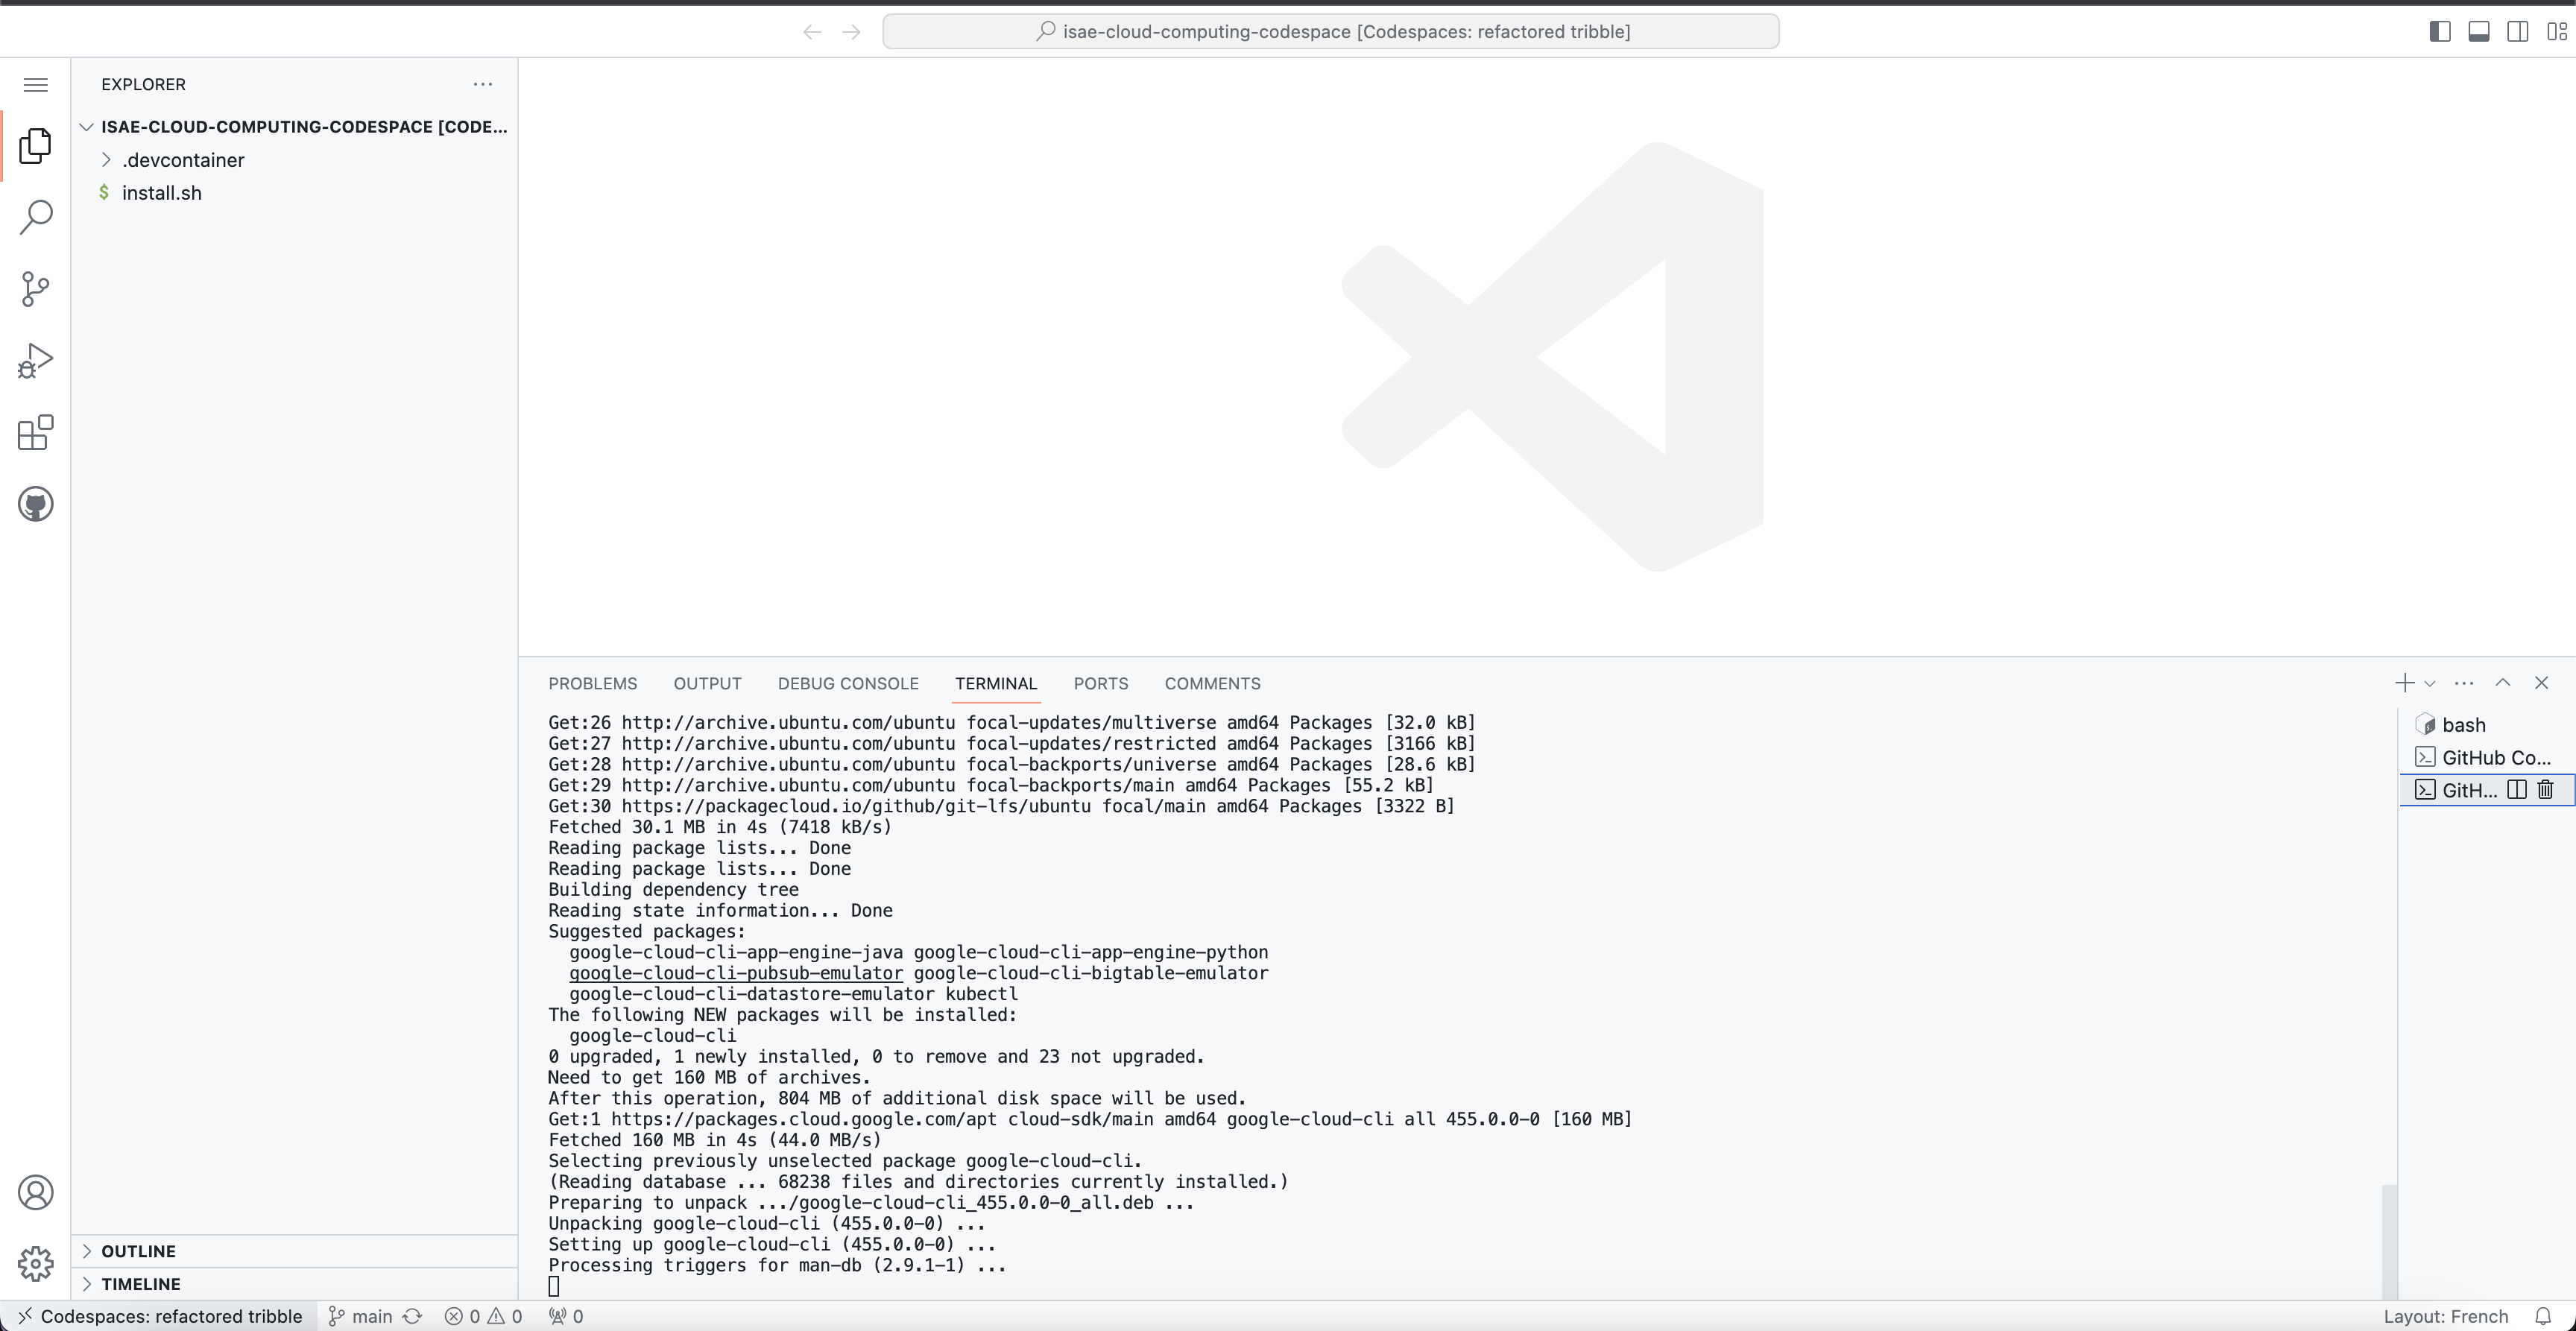
- It should launch a browser with a vscode
- Launch a terminal using the top right menu
If that does not work, go to https://github.com/github/codespaces-blank and create a codespace from there

You should arrive to a VScode instance

Question
- Where is it running ?
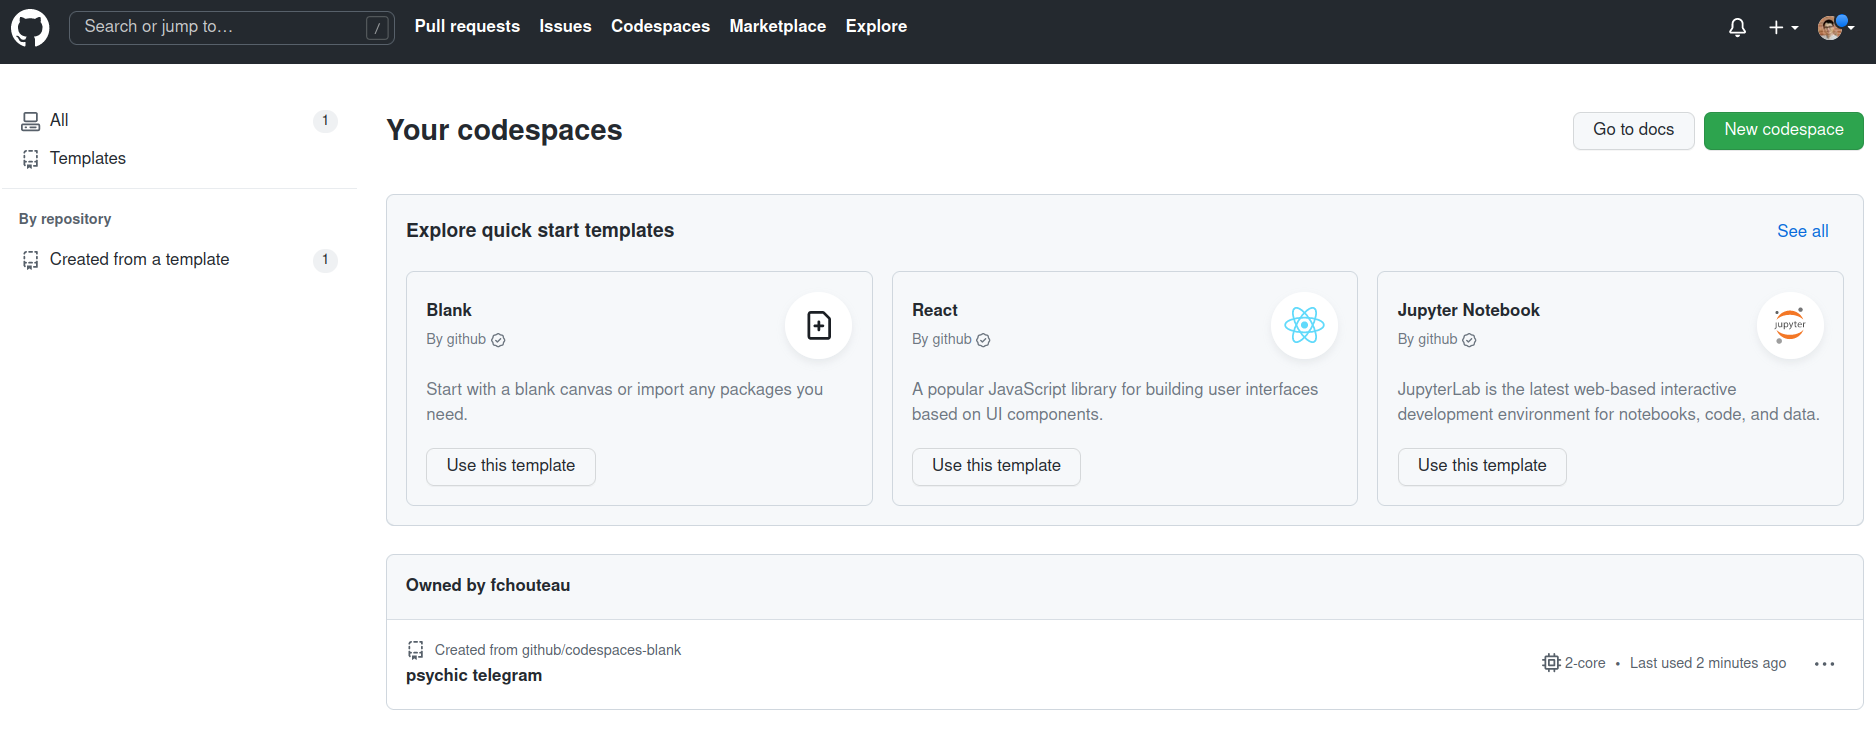
If you go to the core page of https://github.com/codespaces you should see your codespace running

Explore github codespaces🔗
Github Codespace Getting Started
Identify the following features in the interface
Code editor (e.g., VS Code)
Terminal
File explorer
Debugging tools (e.g., breakpoints, console output)
You can then carry these commands in order to get a feel of the "computer" behind
- Check available disk space
Bash command to run
df -h
- Check the OS name
Bash command to run
cat /etc/os-release
- Check the CPU model
Bash command to run
cat /proc/cpuinfo
- This is the hardware model... how many cores do you have available ? Which amount of RAM ?
Help
htop will give you your current usage and available cores, or you can do nproc
-
Try and upload a file from your computer to the codespace by right clicking on the file explorer on the left
-
Create a new file and write a simple python "Hello World", then execute it from the terminal
A demo of codespace port forwarding / web preview🔗
- In your codespace, run
jupyter labto launch the jupyter lab installed in it - Check the "port" preview : It should have a new entry with the 8888 port. If not, create it manually
- Click on open in browser
- Copy the token from your terminal to the web browser
- You are new in a jupyterlab hosted on your github codespace VM !
Question
Magic !? What do you think is happening ? Try to describe it with your own words
- Cancel (CTRL+C) the jupyter process
To learn more about port forwarding in codespaces, refer to the documentation
2. Running your notebooks in the VM🔗
As an exercise, you will setup your development environment in the codespace and run an MLClass Notebook inside the VM,
- Transfer a notebook you are working on from your computer
- Transfer the data as well if it's not downloaded
- Setup your environment using pip, conda, etc... as you would do in your local machine
- Run jupyter lab or jupyter notebook from your codespace and connect to it like previously
- You can continue your script / etc...
If you don't have anything at hand you can use this simple repo as an example (you will see that later on your DL classes) : https://github.com/pytorch/examples/tree/main/mnist
Question
How comfortable do you feel with this remote machine ? Is it easy to get data in or out ? Code in or out ?
3. Let's discover Streamlit🔗
We will now introduce streamlit, which is a very nice tool to build quick webapps in python !
In this TP you will build your first interactive webapp in python and preview it using codespace. This will help you get a feel of using the remote vscode
First, look at this video,
Then, take a look at an introduction to streamlit and the streamlit application gallery
Question
Can you describe what exactly is streamlit ? Could you find any way it could be useful to you ?
3.1. Your first streamlit application🔗
Take a look at the code below,
import streamlit as st
from streamlit_image_comparison import image_comparison
import cv2

st.set_page_config("Webb Space Telescope vs Hubble Telescope", "🔭")

st.header("🔭 J. Webb Space Telescope vs Hubble Telescope")

st.write("")
"This is a reproduction of the fantastic [WebbCompare](https://www.webbcompare.com/index.html) app by [John Christensen](https://twitter.com/JohnnyC1423). It's built in Streamlit and takes only 10 lines of Python code. If you like this app, please star [John's original repo](https://github.com/JohnEdChristensen/WebbCompare)!"
st.write("")

st.markdown("### Southern Nebula")
image_comparison(
    img1="https://www.webbcompare.com/img/hubble/southern_nebula_700.jpg",
    img2="https://www.webbcompare.com/img/webb/southern_nebula_700.jpg",
    label1="Hubble",
    label2="Webb",
)


st.markdown("### Galaxy Cluster SMACS 0723")
image_comparison(
    img1="https://www.webbcompare.com/img/hubble/deep_field_700.jpg",
    img2="https://www.webbcompare.com/img/webb/deep_field_700.jpg",
    label1="Hubble",
    label2="Webb",
)

st.markdown("### Carina Nebula")
image_comparison(
    img1="https://www.webbcompare.com/img/hubble/carina_2800.png",
    img2="https://www.webbcompare.com/img/webb/carina_2800.jpg",
    label1="Hubble",
    label2="Webb",
)

st.markdown("### Stephan's Quintet")
image_comparison(
    img1="https://www.webbcompare.com/img/hubble/stephans_quintet_2800.jpg",
    img2="https://www.webbcompare.com/img/webb/stephans_quintet_2800.jpg",
    label1="Hubble",
    label2="Webb",
)
Question
Can you describe, by reading the documentation, what does the code do ?
3.2. Local deployment in codespace🔗
First, we will install in the codespace the dependencies for our application,
pip install streamlit streamlit opencv-python-headless streamlit-image-comparison
Then create a file streamlit_jswt.py and copy/paste the code above.
Then execute it streamlit run streamlit_jswt.py
This will launch the application on the port 8501 (by default) of our codespace. You can connect to it as usual.
🤩 Nice, isn't it ?
Now you can quit the server.
3.3. A more complex application🔗
We will run and package a more complex application, but a lot more useful for your deep learning class.
If you started your github codespace from the isae cloud computing codespace, you should have a folder called demo-streamlit-activation-function.
Otherwise, clone the repository git clone https://github.com/fchouteau/isae-cloud-computing-codespace.git
cd to the directory cd isae-demo-streamlit-activation-functions then as last time, install the dependencies pip install -r requirements.txt then run the application streamlit run app.py
You can visualize it as last time. This should be quite useful for you given you just left (or will just start, it's early in the year...) the Deep Learning Class !